Stop wasting your money on “pro-grade” mobile lenses or expensive subscription-based editing apps that promise the world and deliver nothing but clutter. I’ve spent enough time in corporate boardrooms to know when someone is selling a solution to a problem that doesn’t exist. Most people think they need more gear to capture a decent moment, but the truth is that most of that extra hardware is just unnecessary friction. If you actually want to learn how to take better phone photos, you don’t need a bigger budget; you need to stop letting your device make all the decisions for you.
I’m not here to give you a list of fifty different filters or a lecture on complex color grading. My goal is to strip away the digital noise and give you a few high-leverage adjustments that actually work. I’ll show you how to master light, composition, and your existing settings so you can capture a shot, get back to your life, and move on. Let’s cut the fluff and get to the utility.
Table of Contents
Mastering Smartphone Camera Settings for Beginners
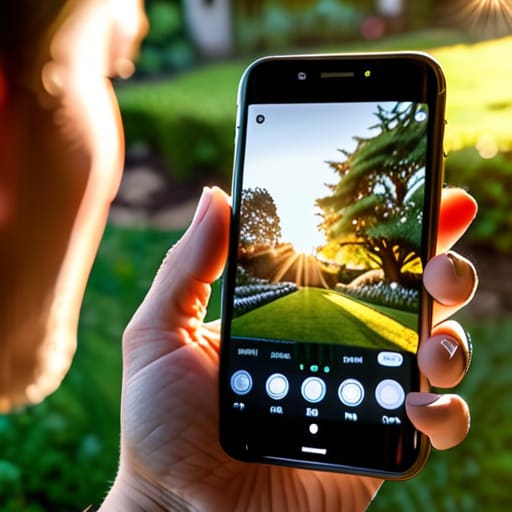
Most people treat their smartphone camera like a vending machine: you press a button and hope something good comes out. That’s where the friction begins. If you want to stop settling for mediocre snapshots, you need to move past the “point and pray” method. Start by digging into your smartphone camera settings for beginners—specifically, turn off that aggressive auto-HDR if your photos look artificial and “crunchy.” I’ve spent years streamlining workflows, and the first step to efficiency is knowing which automated features are actually working against you.
Next, let’s talk about the physics of it all. You don’t need a $2,000 DSLR to get a clean shot; you just need to understand using natural light for phone photography. Avoid the built-in flash at all costs; it’s a blunt instrument that flattens everything it touches. Instead, seek out side-lighting from a window or an open door. This adds depth and texture without the digital noise. If you find yourself struggling with improving low light mobile photos, the secret isn’t a fancy filter—it’s stabilizing your hands or leaning your phone against a solid surface to prevent the shutter lag from ruining the frame. Keep it simple, keep it steady, and let the light do the heavy lifting.
Essential Mobile Photography Composition Rules
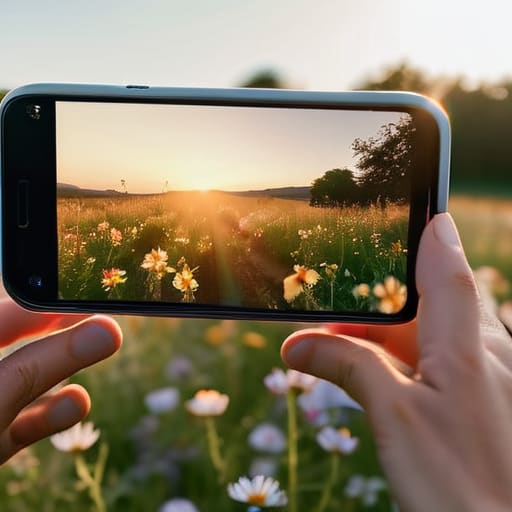
Once you’ve stopped fighting your settings, you need to focus on where you actually place the subject. Most people default to centering everything, which is the fastest way to make a photo look amateur and static. Instead, I rely on the Rule of Thirds. Imagine a tic-tac-toe grid over your screen; place your subject along those lines or at the intersections. It creates a sense of balance and movement that feels intentional rather than accidental. It’s a simple mental framework that removes the guesswork and lets you compose a shot in seconds.
Another way to cut through the visual noise is by looking for leading lines. Use roads, fences, or even the edge of a table to guide the viewer’s eye toward your main subject. This adds depth to a flat, two-dimensional screen. If you’re struggling with a cluttered background, try some basic mobile photography composition rules like framing your subject within a doorway or under an arch. This creates a natural border that forces the eye to focus on what matters. Don’t overthink it—just look for the lines that lead the way, capture the shot, and get back to your day.
Stop Relying on Luck: 5 Tactics to Cut the Friction from Your Workflow
- Clean your lens. It sounds trivial, but most of your “dreamy” light flares are just fingerprint grease. Wipe the glass with your shirt before you even pull the phone out; it takes two seconds and saves you a dozen mediocre shots.
- Lock your focus and exposure. Don’t let the phone’s brain guess what you’re looking at. Tap your subject on the screen, hold it until the AE/AF lock appears, and then slide the brightness bar down slightly. Most phone sensors overexpose everything; manual control stops that digital “flatness.”
- Use the volume button to shoot. Tapping a glass screen causes micro-shakes that ruin sharpness, especially in low light. Use the physical volume rocker to trigger the shutter—it feels more like a real camera and keeps your grip steady.
- Chase the light, don’t fight it. Stop trying to take photos in harsh, midday sun or pitch-black rooms. Find a window or wait for the “golden hour.” Good light does 90% of the work for you, so you can spend less time editing and more time living.
- Shoot in RAW if you actually care about the result. If you’re serious about a shot, toggle on the RAW format in your settings. It captures more data, meaning you won’t be fighting heavy-handed, artificial processing when you go to tweak the colors later.
The Philosophy of the Shot
Stop chasing the perfect filter and start chasing the right light; a great photo isn’t about the processing power in your pocket, it’s about removing the distractions so the subject can actually breathe.
Marcus Holloway
Cutting Through the Noise
At the end of the day, better photography isn’t about owning the latest $1,200 glass slab; it’s about removing the friction between your eye and the sensor. We’ve covered the essentials: ditching the auto-processing fluff in your settings, mastering the geometry of composition, and understanding how light actually works. If you do nothing else, just remember to clean your lens and stop overthinking the technicalities. Once you automate those basic habits, you stop fighting your hardware and start actually seeing the world. Master the fundamentals so the gear becomes invisible.
I spent years in corporate operations trying to optimize every minute of my day, only to realize that the most valuable moments are often the ones we try to capture in a hurry. Don’t let the pursuit of the “perfect shot” become another chore on your to-do list or a source of digital clutter. Use these tools to document your life, not to perform for an algorithm. The goal is to capture the essence of a moment so you can put the phone back in your pocket and actually live it. Keep it simple, keep it intentional, and get back to what matters.
Frequently Asked Questions
How do I deal with bad lighting when I don't have a professional setup?
Stop hunting for studio lights you don’t own. Instead, hunt for windows. Natural, indirect light is your best friend; just move your subject closer to a window and turn off those overhead LEDs that make everything look clinical and harsh. If you’re stuck in a dark room, use a secondary phone’s flashlight—but bounce it off a white wall or ceiling first. Soften the blow. Don’t fight the shadows; use them to create depth.
Is it actually worth investing in external lenses, or is that just more unnecessary gear?
Look, I’m a minimalist by design. I don’t believe in collecting gear just to feel like a “photographer.” For 90% of your shots, external lenses are just more friction—extra things to carry, clean, and lose. If you’re shooting daily life, stick to the built-in glass. However, if you’ve hit a specific wall—like needing true macro detail or a specific wide-angle for architecture—then buy one high-quality kit. Otherwise, leave the extra weight at home.
What’s the quickest way to edit a photo without spending an hour in an app?
Stop overthinking the edit. If you’re looking for speed, skip the complex software and use your phone’s native editor. Open the photo, hit edit, and use the “Auto” enhancement button as a baseline. From there, make two manual tweaks: bump the contrast slightly to add depth and adjust the shadows to recover detail. It takes thirty seconds, removes the digital flat look, and lets you get back to your actual life.
How can I stop my photos from looking grainy when I'm shooting in low light?
Grainy photos are usually just a symptom of your phone desperately trying to compensate for a lack of light. Stop relying on digital zoom; it’s a death sentence for image quality. Instead, find a stable surface to prop your phone against—or use a small tripod—to allow for a longer shutter speed without blur. If you can, manually lower your ISO in your camera app. It’s better to have a slightly darker, clean image than a bright, noisy mess.