I spent most of my twenties in corporate boardrooms where efficiency was everything, but nothing quite taught me the cost of poor planning like the sheer amount of money I used to throw in the trash. I’d come home from a long week, open the fridge, and find a graveyard of wilted spinach and expensive proteins that had gone bad because I didn’t have a system. Most “expert” advice on how to freeze food is unnecessarily complex, involving expensive vacuum sealers or specialized gadgets you simply don’t need to reclaim your time. You don’t need a chemistry degree or a high-end kitchen setup; you just need a logical workflow that prevents waste before it happens.
I’m not here to sell you on a lifestyle brand or a complicated culinary technique. My goal is to give you a streamlined, high-utility framework for managing your inventory so you can stop worrying about meal prep and start focusing on your actual life. I’ll show you the exact, no-nonsense methods I use to preserve quality without the friction, ensuring that when you reach into that freezer, you’re finding prepared assets rather than icy blocks of regret. Let’s cut the fluff and get to the utility.
Table of Contents
Mastering Best Practices for Food Storage
Mastering Best Practices for Food Storage
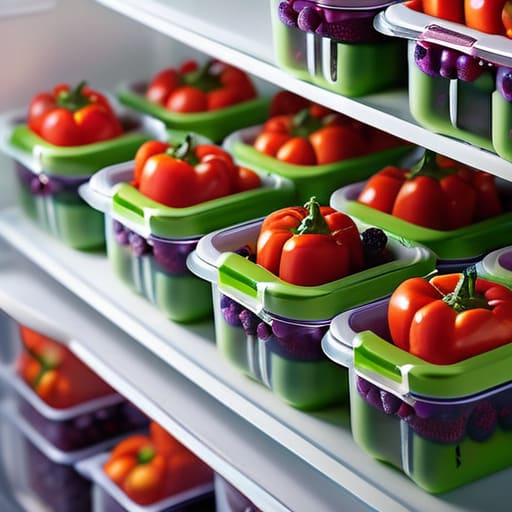
If you want to stop treating your freezer like a black hole where leftovers go to die, you need to get serious about air exposure. The biggest enemy of a well-stocked freezer isn’t the temperature; it’s oxygen. When air hits your food, you get ice crystals, and that’s how you end up with a tray of unidentifiable, tasteless mush. I’ve learned the hard way that vacuum sealing for preservation is the gold standard here. It removes the air entirely, which is the most effective way of preventing freezer burn and keeping textures intact. If you aren’t ready to invest in a vacuum sealer, at least ensure your bags are squeezed tight and your containers are airtight.
You also need to manage your expectations regarding shelf life. Just because something is frozen doesn’t mean it’s immortal. I keep a small note in my pocket notebook regarding how long food lasts in the freezer to avoid the “sniff test” gamble. Most proteins are good for three to six months if stored correctly, while certain items might degrade faster. It’s about building a system that works for you, not a chaotic pile of frozen mystery bags. Treat your freezer like an inventory system, and you’ll spend far less time wondering if that chicken is still safe to eat.
Vacuum Sealing for Preservation to Eliminate Friction
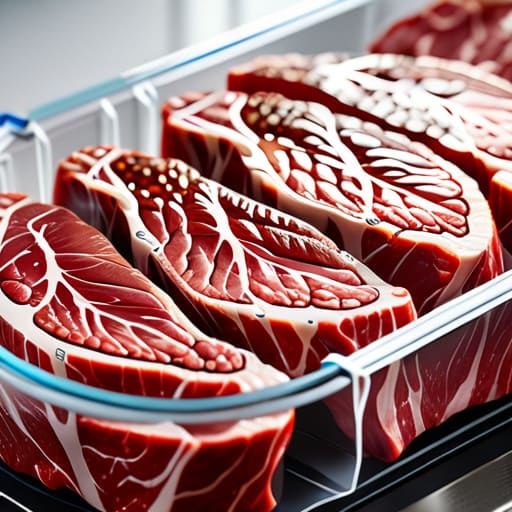
If you’re tired of digging through a frost-covered bag only to find a grey, shriveled steak, it’s time to invest in a vacuum sealer. In my experience, this is the single most effective way to achieve preventing freezer burn once and for all. By removing the air, you eliminate the oxidation that turns perfectly good ingredients into tasteless cardboard. It’s a small upfront cost for a massive return on your time and grocery budget.
When it comes to vacuum sealing for preservation, don’t just throw things in a bag and hope for the best. I treat it like any other operational process: consistency is key. For liquids or soft items like berries, use the pulse setting to avoid crushing them. For proteins, ensure they are bone-dry before sealing. This isn’t just about organization; it’s about extending how long food lasts in the freezer so you aren’t constantly running to the store.
Once you’ve mastered the seal, you’ve essentially automated your pantry’s longevity. You’ll spend less time managing waste and more time actually cooking. Just remember that even with a perfect seal, you still need to follow safe thawing methods when you’re ready to use your stash. Stick to the plan, and the friction disappears.
Five Practical Rules to Stop the Freezer Burn
- Flash freeze small portions first. If you toss a giant block of meat or a pile of loose berries into a bag, they’ll freeze into one unusable mass. Spread them out on a tray for an hour before bagging; it saves you from having to thaw more than you need.
- Get the air out. Air is the enemy of freshness. Whether you’re using a vacuum sealer or just squeezing every bit of oxygen out of a zip-top bag, minimizing that empty space prevents the dreaded freezer burn.
- Label everything with a permanent marker. I’ve lost count of how many “mystery containers” I’ve found in the back of my freezer. Write the item and the date on a piece of masking tape. If you don’t know what it is or how old it is, you’ll eventually throw it away.
- Portion for your actual life. Don’t freeze a family-sized lasagna if you live alone. Divide meals into single-serve containers immediately. It reduces decision fatigue during a busy work week when you just need a quick, decent meal.
- Keep your temperature consistent. Avoid the temptation to constantly rummage through the freezer looking for a snack. Every time you open that door, you’re fluctuating the temperature, which compromises the quality of everything inside. Plan your retrieval and get the door closed.
The Philosophy of the Freezer
“A well-organized freezer isn’t just about preventing rot; it’s about buying yourself future time. When you automate your food preservation, you’re essentially pre-paying for a calmer, more efficient version of your week.”
Marcus Holloway
The Bottom Line
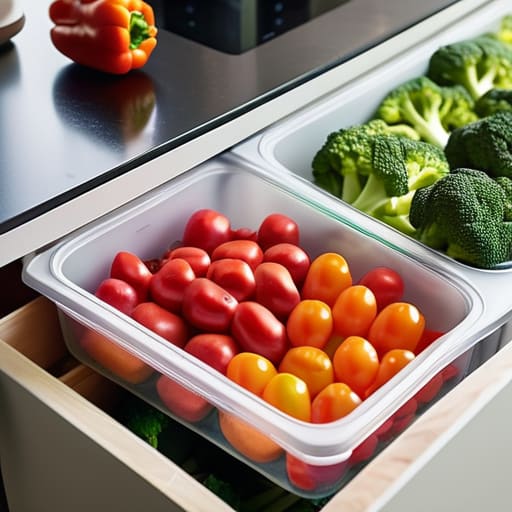
At the end of the day, freezing food isn’t about becoming a master of preservation; it’s about reducing decision fatigue. We’ve covered the essentials: choosing the right containers, mastering the vacuum seal to stop freezer burn, and organizing your inventory so nothing gets lost in the back of the freezer. When you implement these systems, you aren’t just saving ingredients; you are automating your future meals. You’re building a buffer against those chaotic Tuesday nights when the last thing you want to do is face a grocery store or a sink full of dishes.
My advice is to start small. Don’t try to overhaul your entire kitchen in one weekend. Pick one thing—maybe it’s freezing a batch of homemade stock or finally investing in a decent vacuum sealer—and get it right. The goal is to remove the friction from your daily routine so you can reclaim your mental bandwidth. Once you have these systems running in the background, you’ll find you have more time for the things that actually require your presence. Stop reacting to your hunger and start designing your lifestyle.
Frequently Asked Questions
How long can I actually keep food in the freezer before the quality starts to tank?
Look, the “safety” answer is that food stays safe indefinitely, but “safe” isn’t the same as “edible.” If you want quality, you have a window. For most meats and cooked meals, aim for three to six months. Beyond that, freezer burn sets in and textures turn to mush. If you’re using a vacuum sealer, you can push that to a year. Don’t let your freezer become a graveyard for mystery leftovers.
Is there a difference in how I should freeze liquids versus solid proteins?
Yes, there is a massive difference, and ignoring it is a recipe for a mess. Liquids expand when they freeze. If you fill a container to the brim with soup or stock, it’ll crack your glass or pop your lid. Always leave at least an inch of “headspace.” For proteins, focus on surface area. Flatten them out in bags to prevent ice crystals and ensure they thaw quickly without needing a defrosting marathon.
Do I really need to blanch vegetables first, or is that just extra work?
It feels like extra work because, technically, it is. But if you skip it, you’re trading time now for poor quality later. Blanching stops the enzymes that cause browning, mushy textures, and off-flavors. If you want vegetables that actually taste like vegetables six months from now, do the two minutes of boiling and the ice bath. It’s a small upfront investment to prevent the massive friction of wasting spoiled food.
How do I prevent freezer burn from ruining expensive cuts of meat?
Freezer burn happens when air hits the surface of your meat. It’s essentially dehydration in real-time, and it’s a waste of money. To prevent it, you need a total air barrier. If you aren’t using a vacuum sealer, wrap those expensive cuts tightly in plastic wrap first, then a layer of heavy-duty foil. This double-layer approach keeps the oxygen out and ensures that when you finally cook that steak, it’s actually worth the price you paid.