I spent fifteen years in corporate operations, where “efficiency” was a buzzword used to mask chaos. I brought that same mindset to my kitchen, and frankly, I’m tired of seeing people treat a simple protein like a high-stakes engineering project. You don’t need a sous-vide machine, a thermometer that connects to your Wi-Fi, or a twenty-step recipe involving exotic herbs you’ll never use again just to figure out how to cook chicken breast. Most of the advice you find online is just unnecessary friction designed to sell you more gadgets you don’t need.
I’m not here to give you a culinary lecture or a list of fluff. My goal is to give you a repeatable, streamlined system that yields juicy, flavorful results every single time without wasting your mental bandwidth. I’m going to show you the most direct way to handle this staple so you can spend less time hovering over a hot stove and more time focusing on what actually matters. We’re going to cut the noise and get straight to the utility.
Table of Contents
How to Brine Chicken Breast for Maximum Moisture
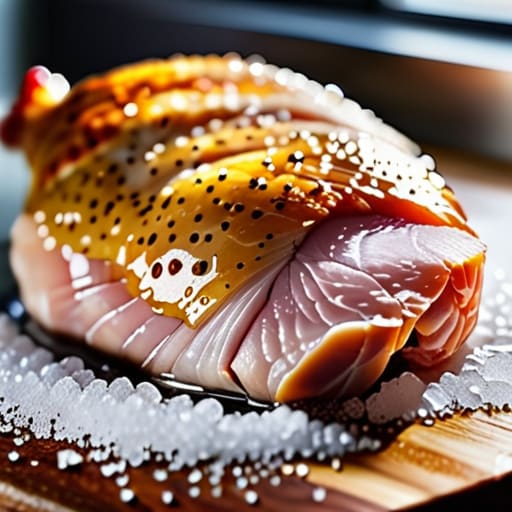
If you want to stop the cycle of eating sawdust, you need to embrace the brine. Most people skip this step because they think it’s too much effort, but it’s actually the most efficient way to ensure preventing dry chicken breast becomes a permanent part of your kitchen routine. You don’t need a complex setup; just a container large enough to submerge the meat, plenty of water, and a generous amount of salt. I usually opt for a simple 5% salt solution—about a quarter cup of kosher salt per quart of water. Let it sit in the fridge for thirty minutes to an hour. This isn’t just about flavor; it’s about changing the protein structure so the meat can actually hold onto moisture once it hits the heat.
Once you’ve pulled the chicken from the brine, pat it bone-dry with paper towels. This is non-negotiable if you’re planning a pan-seared chicken breast method, as surface moisture is the enemy of a good crust. While the brine handles the internal hydration, you can still play around with various chicken breast seasoning ideas—think smoked paprika, garlic powder, or even just cracked black pepper—on the exterior. By the time you move to the stove or oven, you’ve already won half the battle. You’re no longer fighting against the physics of dehydration; you’re just managing the heat.
Preventing Dry Chicken Breast With Minimal Effort
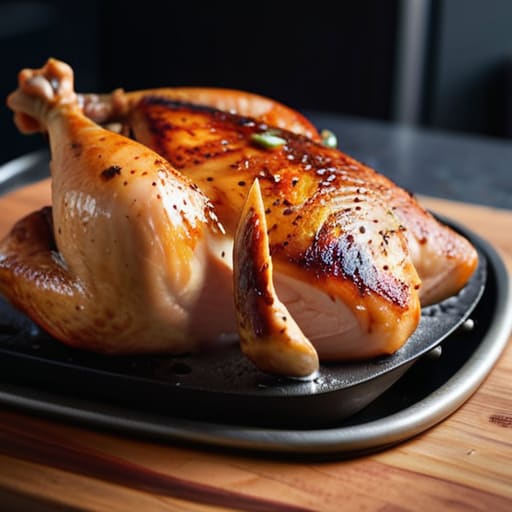
If you’ve already skipped the brine, don’t panic. You can still avoid the dreaded rubbery texture, but you need to stop treating the stove like a battlefield. Most people fail because they rely on visual cues—looking for “white all the way through”—which is a one-way ticket to a dry, tasteless meal. Instead, invest in a digital instant-read thermometer. It is the single most effective tool for preventing dry chicken breast without needing a culinary degree.
When using a pan-seared chicken breast method, the goal is high heat for color, but immediate precision for the finish. I usually aim for a target internal temperature for chicken of 160°F (71°C) before pulling it off the heat. Remember, carryover cooking is real; the temperature will climb those last few degrees while the meat rests on your cutting board. If you wait until it hits 165°F in the pan, you’ve already lost the battle. Let it sit for five minutes. It’s a small window of time, but it’s the difference between a professional-grade meal and something you’ll end up scraping into the bin.
Five Rules to Stop Ruining Your Chicken
- Buy a digital instant-read thermometer. Stop guessing based on color or “feel”; it’s a waste of time and a recipe for dry meat. Pull the chicken off the heat at 160°F (71°C) and let carryover cooking take it to the safe 165°F mark.
- Pat the skin bone-dry with paper towels before it hits the pan. Moisture is the enemy of a good sear; if the surface is wet, you’re steaming the meat instead of browning it.
- Standardize your seasoning. Don’t get fancy with twenty different spices. A heavy hand with kosher salt, cracked black pepper, and perhaps a bit of garlic powder is all the utility you need to get the job done.
- Let it rest. I know it’s tempting to dive in immediately, but if you cut that breast the second it leaves the pan, all the juice ends up on your plate instead of in the meat. Give it five minutes.
- Use a heavy-bottomed pan. A cheap, thin skillet creates hot spots that lead to uneven cooking. Invest in one solid piece of stainless steel or cast iron that holds heat consistently.
The Philosophy of the Perfect Sear
“Cooking chicken shouldn’t be a high-stakes gamble; it’s about managing heat and respecting the protein so you aren’t spending your evening chewing on something that feels like a piece of industrial rubber.”
Marcus Holloway
The Bottom Line
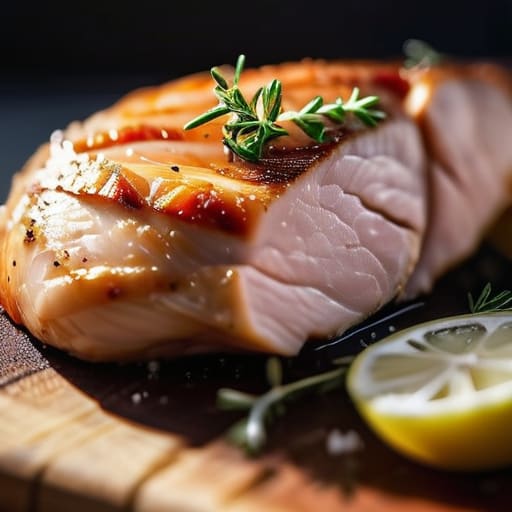
At the end of the day, cooking a decent chicken breast isn’t about following a complicated culinary roadmap; it’s about managing variables. We’ve covered the essentials: use a quick brine to build a moisture buffer, sear it properly to lock in flavor, and—most importantly—stop guessing with the timing. If you invest five minutes in a brine and use a thermometer to prevent overcooking, you’ve already eliminated 90% of the potential failures. It’s about eliminating the friction between hunger and a high-quality meal so you aren’t stuck cleaning up a mess of dry, wasted protein.
My philosophy has always been that the best systems are the ones that work so well you eventually stop thinking about them. Cooking shouldn’t be a source of mental clutter or a high-stakes gamble every Tuesday night. Once you master these few, repeatable steps, you reclaim that decision fatigue for things that actually deserve your attention. Get the technique down, keep your tools sharp, and get back to your life. You’ll find that when you automate the basics, you have much more room to enjoy the actual experience of eating.
Frequently Asked Questions
Is it actually worth the extra time to brine, or can I just season it and go?
Look, if you’re in a rush, don’t let the pressure of a “perfect” recipe ruin your evening. If you’re just throwing a quick meal together, seasoning and searing is fine. But if you have twenty minutes to spare? Brine it. The ROI on that small time investment is massive. It’s the difference between a mediocre, dry piece of protein and a meal that actually tastes like it was worth the effort. Brine for the win.
What’s the absolute fastest way to tell if it's done without fumbling with a thermometer every two minutes?
Look, I get it. Fiddling with a digital probe every few minutes is a distraction you don’t need. If you want to skip the tech, use the touch test. Press the center of the meat with your finger. If it feels soft and squishy like your cheek, it’s raw. If it’s firm and springy, like the base of your thumb when you make a fist, it’s done. Trust your hands; they don’t need batteries.
Should I be buying pre-sliced breasts, or is the extra work of slicing them myself worth the texture difference?
Buy the whole breasts. It’s a small investment of time that pays massive dividends in quality. Pre-sliced meat is often a logistical nightmare; it’s prone to drying out faster because of the increased surface area, and you have no idea how long it’s been sitting in a plastic tray. Take thirty seconds to slice them yourself. You control the thickness, you control the freshness, and frankly, you’ll end up with a much better meal.
How do I stop the pan from smoking like crazy if I'm trying to sear it quickly?
The smoke is a sign you’ve pushed your oil past its limit. If you’re trying to get a hard sear without turning your kitchen into a sauna, stop using extra virgin olive oil or butter—they burn far too low. Switch to avocado oil or ghee. They have higher smoke points, meaning you can get that crust you want without the acrid cloud. Keep the heat high, but keep the oil stable.