Most people think you need a $1,500 wood-fired oven and a degree in fermentation science to master the art of the crust. They spend weekends chasing complex sourdough starters only to end up with a dense, cracker-like mess that tastes more like cardboard than dinner. I spent years falling for that exact trap, thinking that complexity equaled quality. But after a decade of streamlining processes in my professional life, I realized that learning how to make homemade pizza isn’t about adding more variables; it’s about eliminating the friction between you and a great meal.
I’m not here to give you a twenty-step recipe that requires a laboratory setup. Instead, I’m going to show you my streamlined protocol for high-quality results using standard kitchen tools. I’ll walk you through the essential gear, the minimal ingredient list you actually need, and the specific timing that prevents a kitchen disaster. My goal is to help you automate the decision-making process so you can stop stressing over the dough and start actually enjoying the process. Let’s get to work.
Table of Contents
Recipe Details
Ingredients
- 2 cups all-purpose flour
- 1 teaspoon active dry yeast
- 3/4 cup warm water
- 1 teaspoon salt
- 1/2 cup tomato sauce
- 1.5 cups shredded mozzarella cheese
- 1/4 cup fresh basil leaves
Recipe Instructions
Step 1
Stop overthinking the dough. You don’t need a sourdough starter or a degree in fermentation to get a decent crust. Mix 500g of bread flour, 350g of warm water, 10g of salt, and 7g of instant yeast in a large bowl. Knead it until it’s smooth—about ten minutes of manual labor—then let it sit in a covered bowl for at least two hours. If you have the mental bandwidth, let it sit in the fridge overnight; the flavor profile improves significantly with time.
Step 2
Prep your workspace and get the heat up. Most home ovens are underpowered, so you need to compensate. If you own a pizza stone or a steel, put it in the oven now. Crank your oven to its absolute maximum setting and let that stone soak up the heat for at least 45 minutes. You want the surface to be punishingly hot so the dough hits a thermal shock the moment it touches the stone.
Step 3
Shape the dough without destroying the air bubbles. Resist the urge to use a rolling pin; that’s a rookie mistake that crushes the structure you worked so hard to build. Instead, use your knuckles to gently stretch the dough from the center outward on a piece of parchment paper. You’re looking for a thin middle and a slightly thicker rim for the crust.
Step 4
Keep the toppings lean. This is where most people fail by turning their pizza into a soggy, heavy mess. Spread a thin layer of crushed San Marzano tomatoes—don’t use the pre-cooked, herb-heavy stuff—and add a handful of fresh mozzarella. If you’re adding meat or heavy vegetables, less is more. Overloading the dough prevents it from crisping up, leaving you with a limp, uninspired meal.
Step 5
The bake and the finish. Slide the pizza (with the parchment, if you’re using it) onto the hot stone. Watch it like a hawk. In a high-heat oven, you’re looking at roughly 7 to 10 minutes. You want charred “leopard spots” on the crust and bubbling cheese. Once it’s out, hit it with a drizzle of high-quality olive oil and some fresh basil. Don’t wait for it to cool—eat it while the textures are still distinct.
Mastering the Best Pizza Dough Recipe and Yeast Fermentation Tips
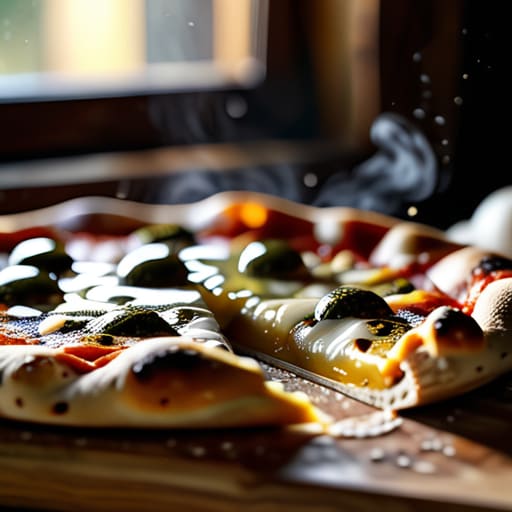
If you want to move from “decent” to “exceptional,” you need to stop viewing dough as a chore and start seeing it as a process. The secret isn’t a magic ingredient; it’s time. Most people rush the rise because they’re hungry, but that’s a mistake. For the best pizza dough recipe, I recommend a cold ferment in the fridge for at least 24 hours. This slow process allows the enzymes to break down starches into complex sugars, which is the real key to those impressive charred bubbles you see in professional wood-fired ovens.
When it comes to yeast dough fermentation tips, consistency is your best friend. Keep your environment stable. If your kitchen is freezing, your dough will stall; if it’s too hot, it’ll overproof and taste like beer. I always keep a small notebook by my workstation to track ambient temperature and rise times. It’s a simple bit of data that removes the guesswork.
Finally, don’t neglect the heat. Baking pizza in a home oven can be tricky because residential units rarely hit the 800°F marks of a commercial deck. To compensate, use a preheated stone or steel and maximize your top broiler during the last two minutes of the bake. This mimics that intense radiant heat needed for a proper crust.
Optimizing Homemade Pizza Sauce Ingredients and Crispy Crust Techniques
Most people overcomplicate the sauce. You don’t need a simmering pot of complex marinara that takes two hours; you just need high-quality homemade pizza sauce ingredients that respect the dough. I prefer a “no-cook” approach: crushed San Marzano tomatoes, a pinch of sea salt, a splash of olive oil, and maybe some fresh basil. By skipping the pre-cooking stage, you allow the sauce to cook in the oven alongside the crust, which prevents the dough from becoming a soggy mess. If you want a bit of heat, a few red pepper flakes go a long way, but don’t let the sauce overpower the char of the bread.
As for the base, the biggest hurdle is often baking pizza in a home oven without getting that professional-grade crunch. Standard residential ovens rarely hit the temperatures of a wood-fired brick oven, so you have to compensate. My rule of thumb is to use a preheated baking stone or steel. Let it soak up the heat for at least forty-five minutes before the first pie goes in. If you’re still struggling with a soft center, try minimizing your toppings—too much moisture from heavy cheese or watery vegetables is the fastest way to kill your crust’s integrity. Keep it lean, keep it hot, and let the heat do the heavy lifting.
Three Rules for Frictionless Pizza Nights
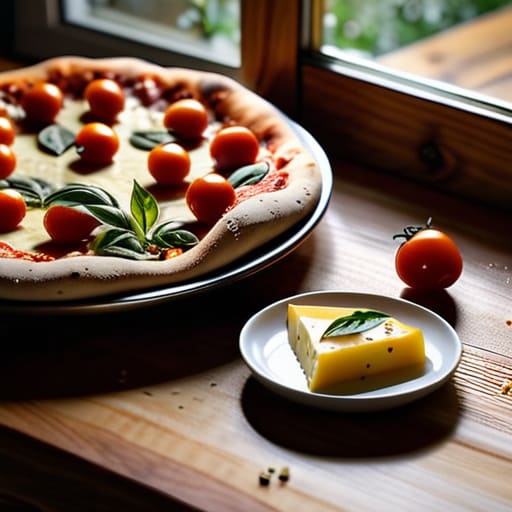
- Stop overcomplicating the toppings. A heavy-handed approach leads to a soggy, structural nightmare. Stick to high-quality ingredients in moderation so the crust can actually do its job.
- Pre-heat your stone or steel for at least forty-five minutes. If you try to bake on a lukewarm surface, you’re just making warm bread, not pizza. Heat is your most important ingredient.
- Get your hands dirty with the dough. Don’t reach for a rolling pin; it kills the air bubbles you worked so hard to cultivate during fermentation. Stretch it by hand to preserve that texture.
- Manage your moisture levels. If you’re using fresh mozzarella, slice it and let it drain on a paper towel for twenty minutes first. Otherwise, you’ll end up with a puddle in the middle of your pie.
- Prep your station before the heat is on. Once that dough is stretched, the clock is ticking. Have your sauce, cheese, and toppings laid out in an organized flow so you aren’t scrambling while the oven is screaming.
The Philosophy of the Crust
“Stop chasing complex gourmet recipes and start mastering the fundamentals; a perfect pizza isn’t about expensive toppings, it’s about controlling the variables of heat, hydration, and time so the process works for you, not against you.”
Marcus Holloway
The Bottom Line

Making a great pizza isn’t about chasing professional kitchen equipment or expensive, niche ingredients. It comes down to mastering the fundamentals: a well-fermented dough, a sauce that doesn’t taste like a tin can, and a high-heat environment that creates that essential crust crunch. Once you’ve streamlined your mise en place and understood how yeast behaves in your kitchen, the process stops being a chore and starts becoming a repeatable system. Stop overthinking the variables and just focus on the quality of your core components.
At the end of the day, the goal here wasn’t just to teach you a recipe; it was to show you that you can take control of your own consumption. There is a profound sense of satisfaction in knowing exactly what went into your meal and, more importantly, knowing you didn’t have to rely on a delivery app to get it. Use these protocols to reclaim your Friday nights and simplify your routine. Now, put the phone away, grab a slice, and enjoy the results of your work.
Frequently Asked Questions
How do I manage the dough if I don't have time to bake it immediately after it rises?
Don’t let a busy schedule ruin a good dough. If you aren’t ready to bake, move the dough to the fridge. Cold fermentation is actually a win; it slows the yeast and develops a much deeper flavor profile. Just keep it in a sealed container so it doesn’t dry out. When you’re ready, pull it out about an hour before baking to let it come back to room temperature. Efficiency through patience.
My crust is coming out soggy in the middle; how do I fix the moisture issue?
Soggy centers are usually a moisture management failure. First, crank your oven as high as it goes—heat is your best friend for instant evaporation. Second, don’t overload the dough with sauce or heavy toppings; keep it lean. If you’re using fresh mozzarella, drain it thoroughly first. Finally, try pre-heating your stone or steel for at least forty-five minutes. You need that thermal mass to hit the dough hard and fast.
Can I use a standard baking sheet, or do I actually need a pizza stone to get a decent result?
Look, you don’t need a specialized pizza stone to get a solid result. If you’re trying to minimize friction in your kitchen, a standard baking sheet works just fine. My advice? Flip the sheet upside down. It creates a flatter surface that helps heat circulate more evenly. If you want to level up without the clutter, invest in a heavy cast-iron skillet. It holds heat like a pro and mimics a stone’s performance.
What’s the best way to store leftover dough without it losing its structure?
Don’t just toss the leftover dough in a plastic bag and hope for the best; that’s a recipe for a sticky, fermented mess. Lightly oil a glass container—it handles temperature changes better than plastic—and place the dough inside. Press it into a flat disc to save space and ensure even fermentation. Keep it in the fridge for up to three days. Just remember to let it hit room temperature before you try to stretch it.